


 Mr. Perry Wu International Sales Director
News


0102030405
How to design a cold plate?
2024-12-26
In the world of thermal management, water-cooled Cold Plates have become an essential component in applications ranging from electronics cooling to industrial processes. Designing an effective cold plate requires a thorough understanding of the thermal dynamics involved and the specific requirements of the application. This article will guide you through the basic steps to design a water-cooled cold plate that meets your needs.

Learn the Basics
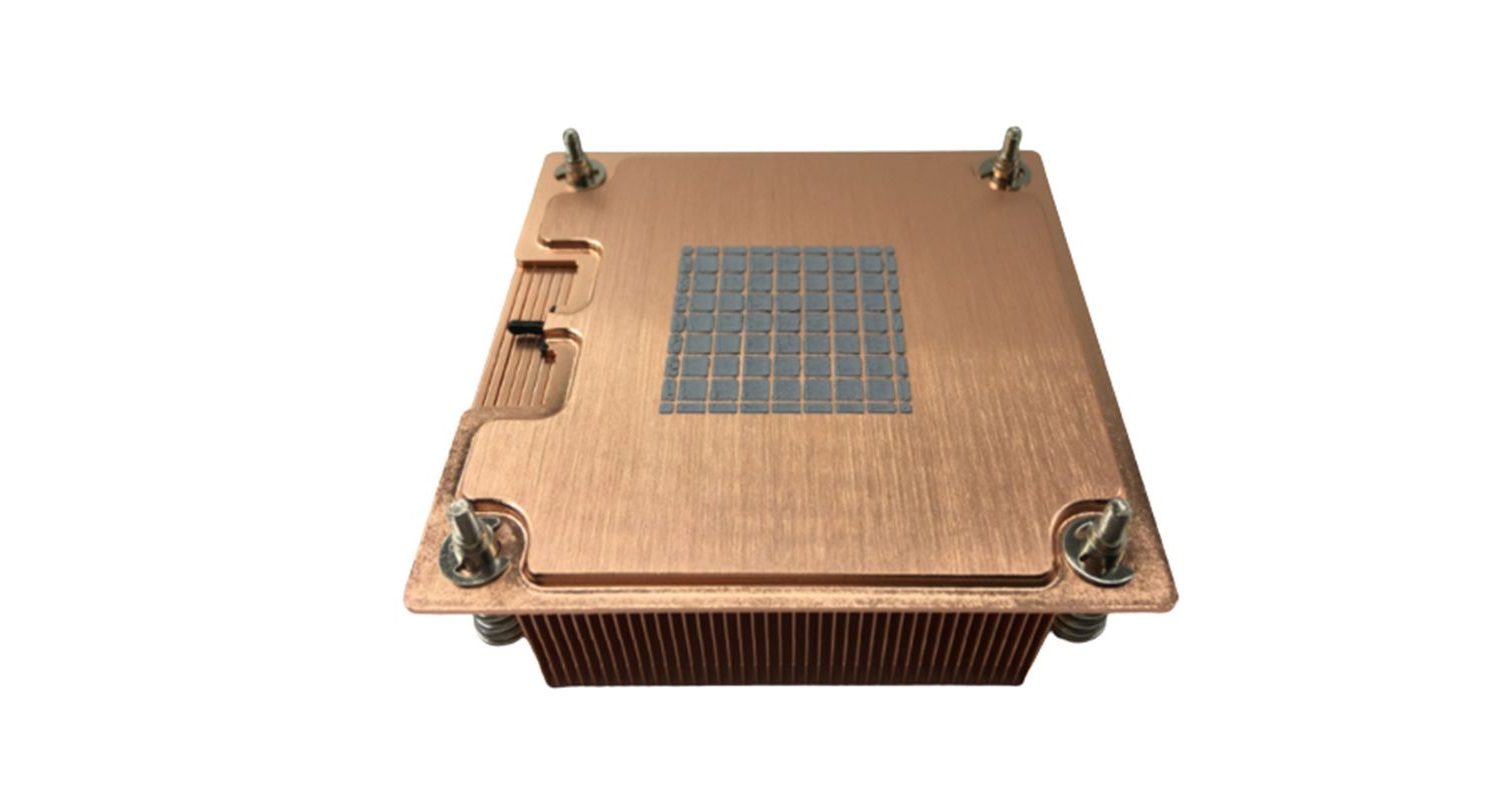
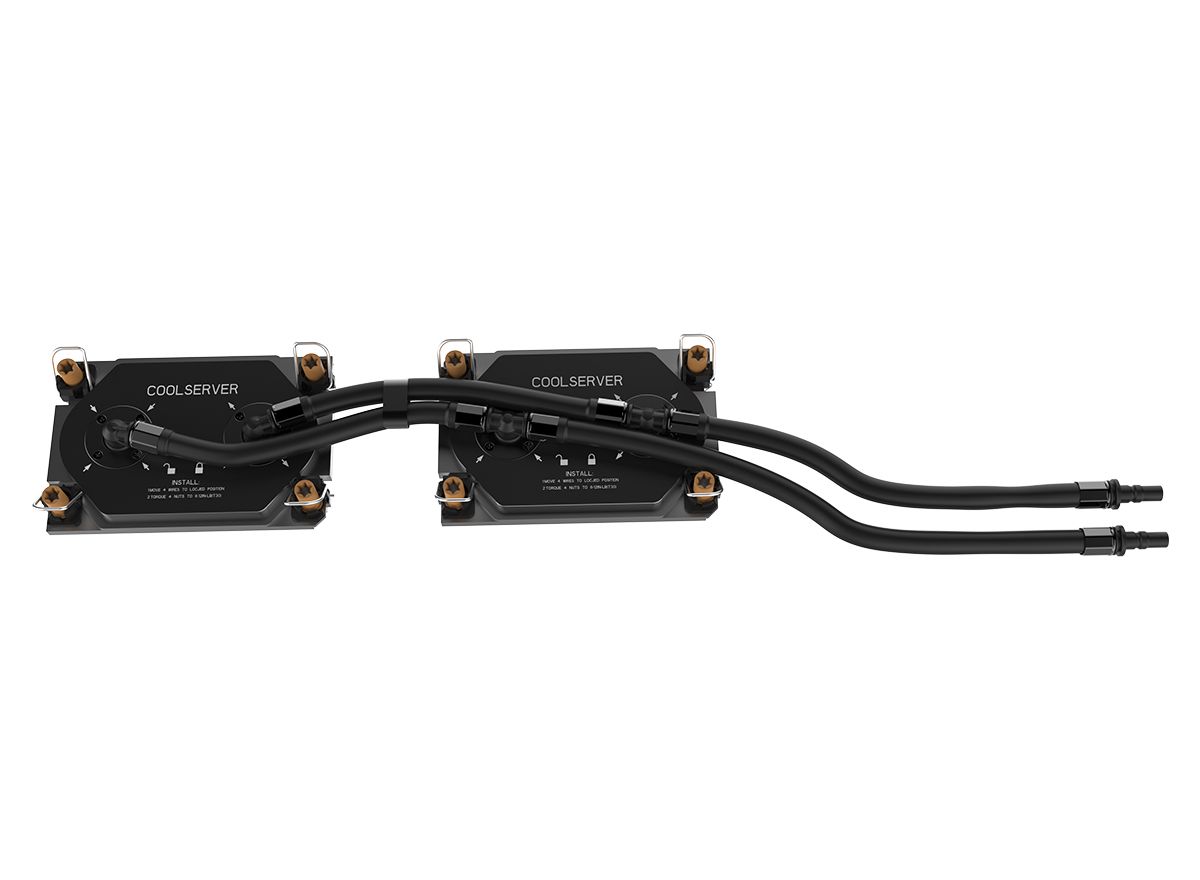
A cold plate is a Heat Exchanger that transfers heat from heat-generating components (such as the CPU or power electronics) to a cooling medium (in this case, water). The main purpose of a water-cooled cold plate is to maintain optimal operating temperature to ensure reliability and performance.
Step 1: Define requirements
Before diving into the design, it is critical to determine the requirements of your application. Consider the following:
Heat Load: Determines the amount of heat that needs to be dissipated. This is usually measured in Watts (W) and can vary depending on operating conditions.
Temperature Limit: Determines the maximum allowable temperature of the component being cooled. This will guide the design to ensure the cold plate is able to keep the temperature within a safe range.
Space Constraints: Evaluate the space available for the cold plate. This includes dimensions and any mounting considerations.
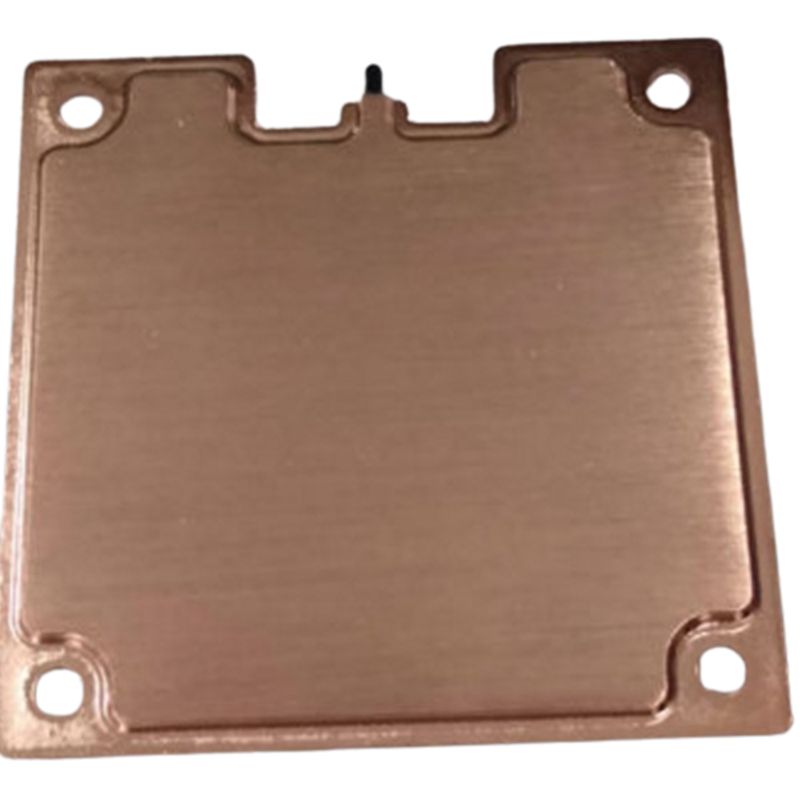
Step 2: Select Materials
The choice of material is critical to cold plate design. Common materials include aluminum and copper because of their excellent thermal conductivity. Aluminum is lightweight and affordable, while copper has excellent thermal performance. The choice depends on specific thermal requirements and budget constraints.
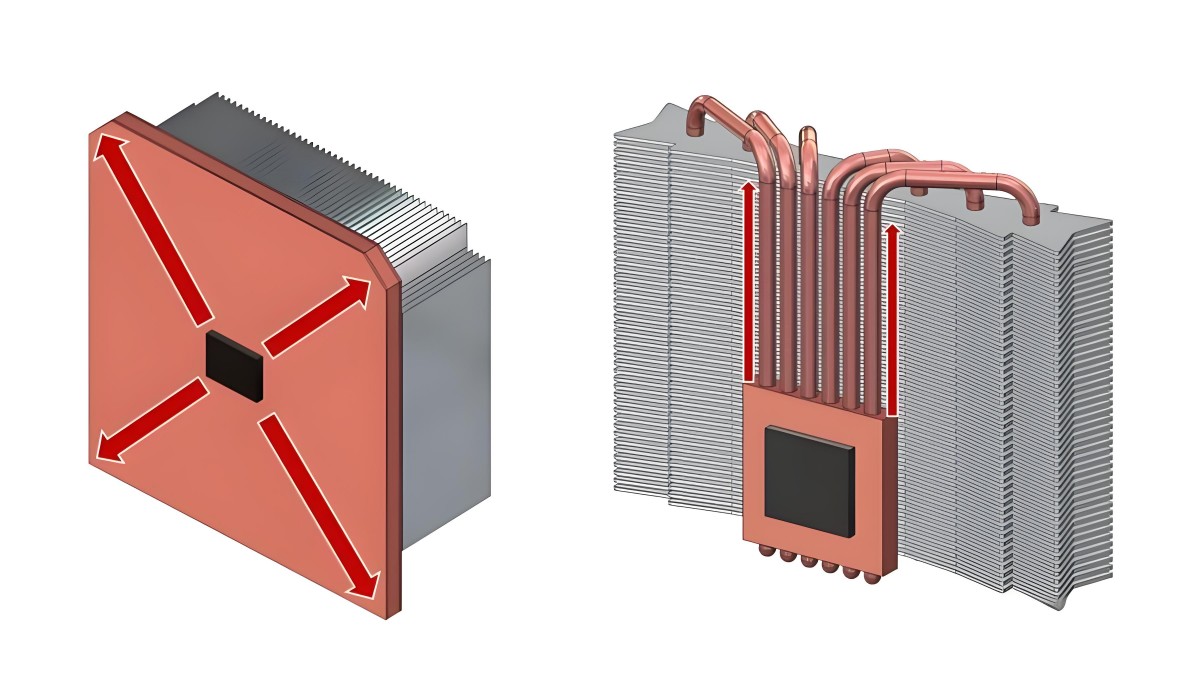
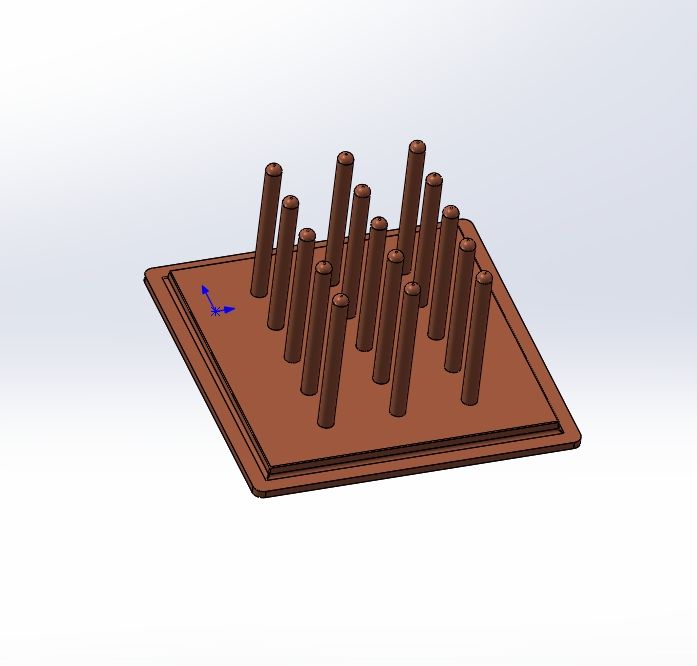
Step 3: Design the process path
The flow path of the cooling water is a critical aspect of cold plate design. A well-designed flow path ensures uniform cooling across the cold plate surface. Here are some considerations:
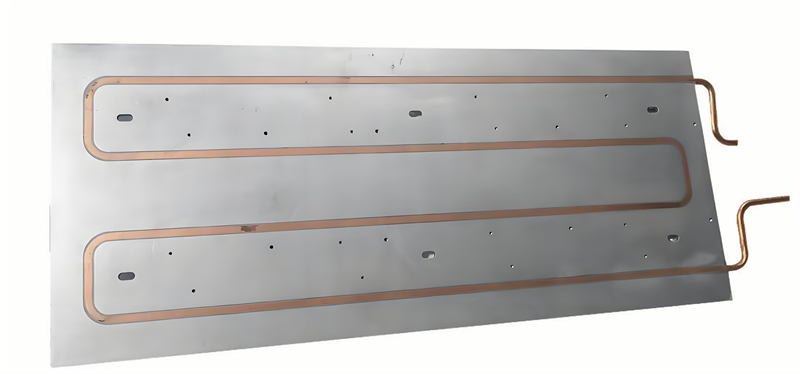
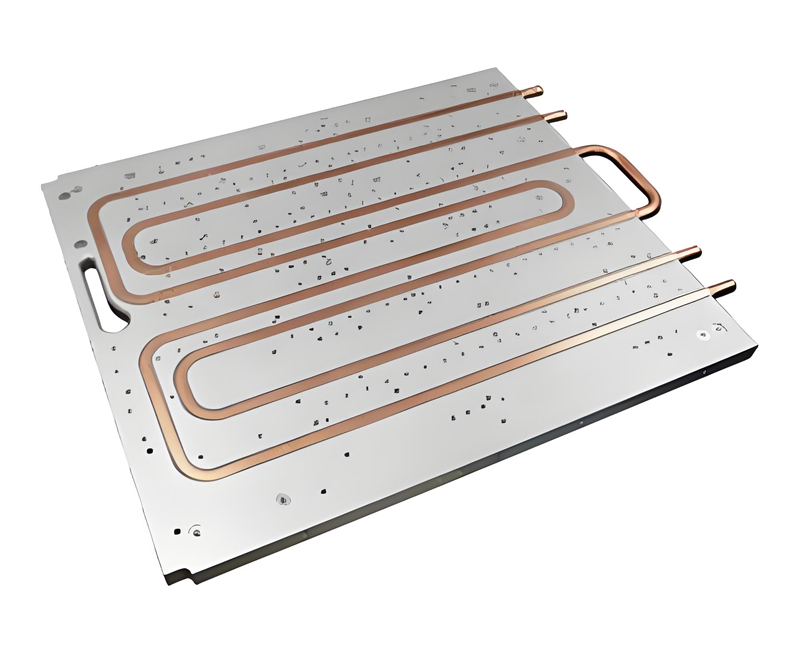
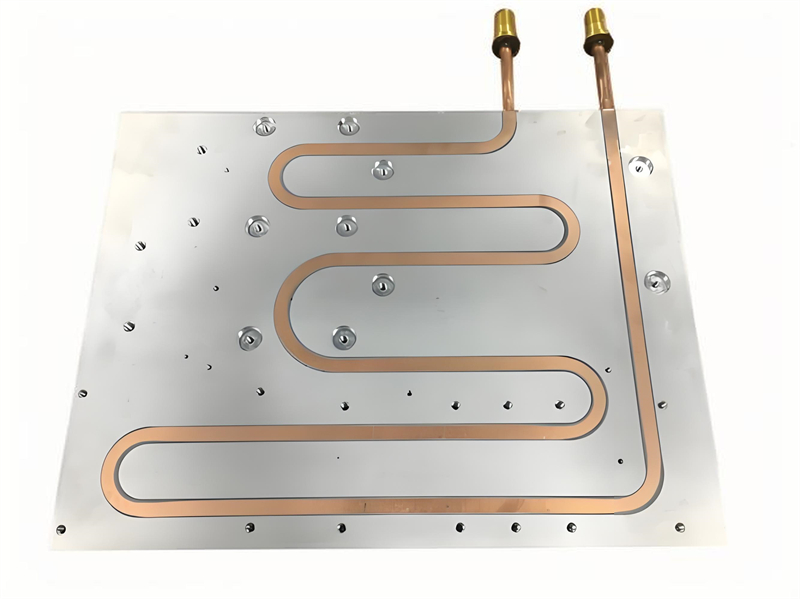
Channel Design: The water flow channel can be designed in various shapes, such as straight channel, serpentine channel or pin-fin channel. Each design has its advantages in terms of heat transfer efficiency and pressure drop.
Flow Rate: Calculate the water flow rate required to achieve the desired cooling performance. This depends on the heat load and the specific heat capacity of the water.
Step 4: Analyze Thermal Performance
Once the initial design is complete, it is critical to analyze the thermal performance of the cold plate. Computational fluid dynamics (CFD) simulations can be used to predict how effectively the cold plate will dissipate heat. This analysis will help identify any potential hot spots and allow for design adjustments before physical prototypes are made.
Step 5: Prototype and Test
After finalizing the design, the next step is to create a prototype of the water-cooled cold plate. Testing the prototype under real-world conditions is critical to validating the design. Monitor the temperature distribution and flow rate to ensure the cold plate performs as expected.
Step 6: Iterate and optimize
Based on the test results, you may need to iterate on the design. This may involve modifying channel geometry, adjusting material thickness, or changing flow rates. The goal is to optimize the cold plate for maximum efficiency and performance.
In conclusion
Designing a water-cooled cold plate is a multifaceted process that requires careful consideration of thermodynamics, material selection, and flow channel design. By following these steps, you can create an effective cold plate that meets the specific cooling needs of your application. With the right design, a water-cooled cold plate can significantly improve the performance and reliability of heat-generating components, making it an indispensable asset in thermal management solutions.